To say I'm not a baker would be a bit of an understatement.
I think making homemade bread is some sort of secret in the bakers world. It's different then making cookies. It is a science. It requires chemistry. I was that English kind of student...not the Math/Science one. I’m a self proclaimed non-baker. I cook, but any time flour gets mixed in I get lost. I have proven this theory by making an amazing flourless chocolate cake. Cheesecake? You got it. Creme brulee? Don't even get me started. Something goes awry whenever I incorporate flour. My distinct lack of a sweet tooth has allowed me to live with this burden somewhat. However, my savory palate craves carbs. Specifically bread. I have recently discovered that making bread is not that hard. In fact, it’s rather easy. So easy that I would say that bread machines are a bigger scam than that Nigerian princess who has been emailing you (Thank you Michael Scott). The ability to crank out delicious crusty loaves will seriously change your life. Normally, I am all about making dough in my mixer, but this recipe is actually no knead! Can you believe it? That’s right, your hands will rest easy.
Ingredients:
3 cups all-purpose flour (plus more for dusting and rolling)
2 teaspoons salt
1 teaspoon sugar
1 envelope or 2 1/4 teaspoons active dry yeast
1 1/2 cups warm water
Ingredients:
3 cups all-purpose flour (plus more for dusting and rolling)
2 teaspoons salt
1 teaspoon sugar
1 envelope or 2 1/4 teaspoons active dry yeast
1 1/2 cups warm water
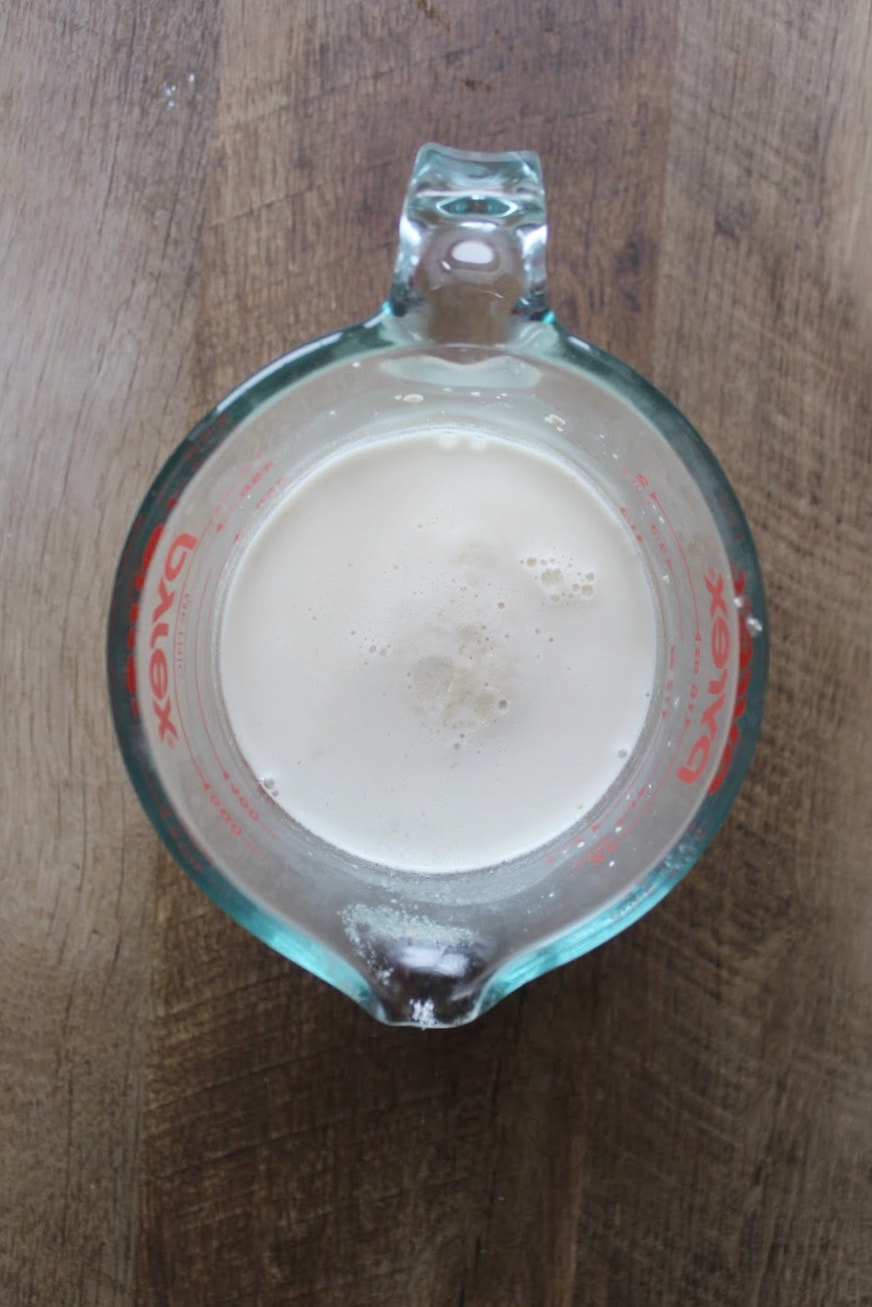
Mix together yeast, sugar, and warm water. Stir until the yeast has completely dissolved. Let rest for 5 - 10 minutes until the mixture becomes foamy. Once you start to see some bubbles form, your yeast should be good to go.
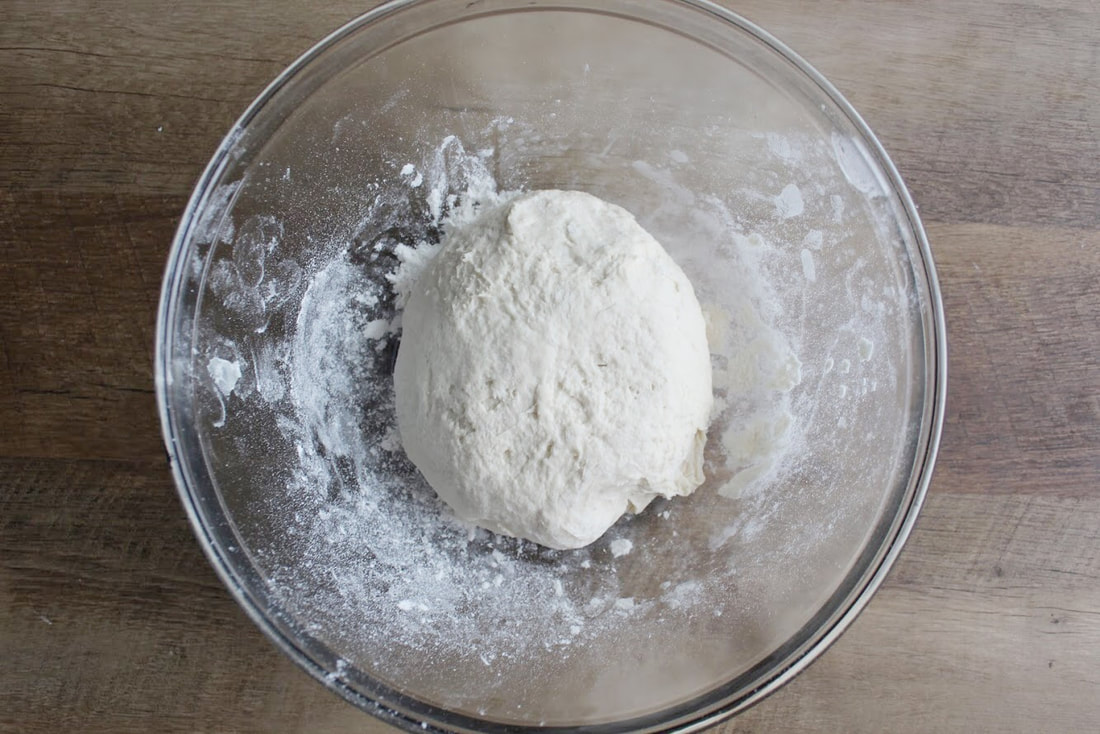
In a medium sized bowl, stir together flour and salt. Slowly add in the water/yeast mixture while stirring. The dough should be shaggy but don't worry. Once the mixture is fully combined, work the dough into a ball with your hands. It does not have to be perfect. Cover with saran wrap or a damp towel and let rise for 6 - 8 hours. Your best option is overnight. I have made this bread before after only letting it rise for 2 hours and it is still delicious. But for the ultimate fluffy bread, you want to give it some time.
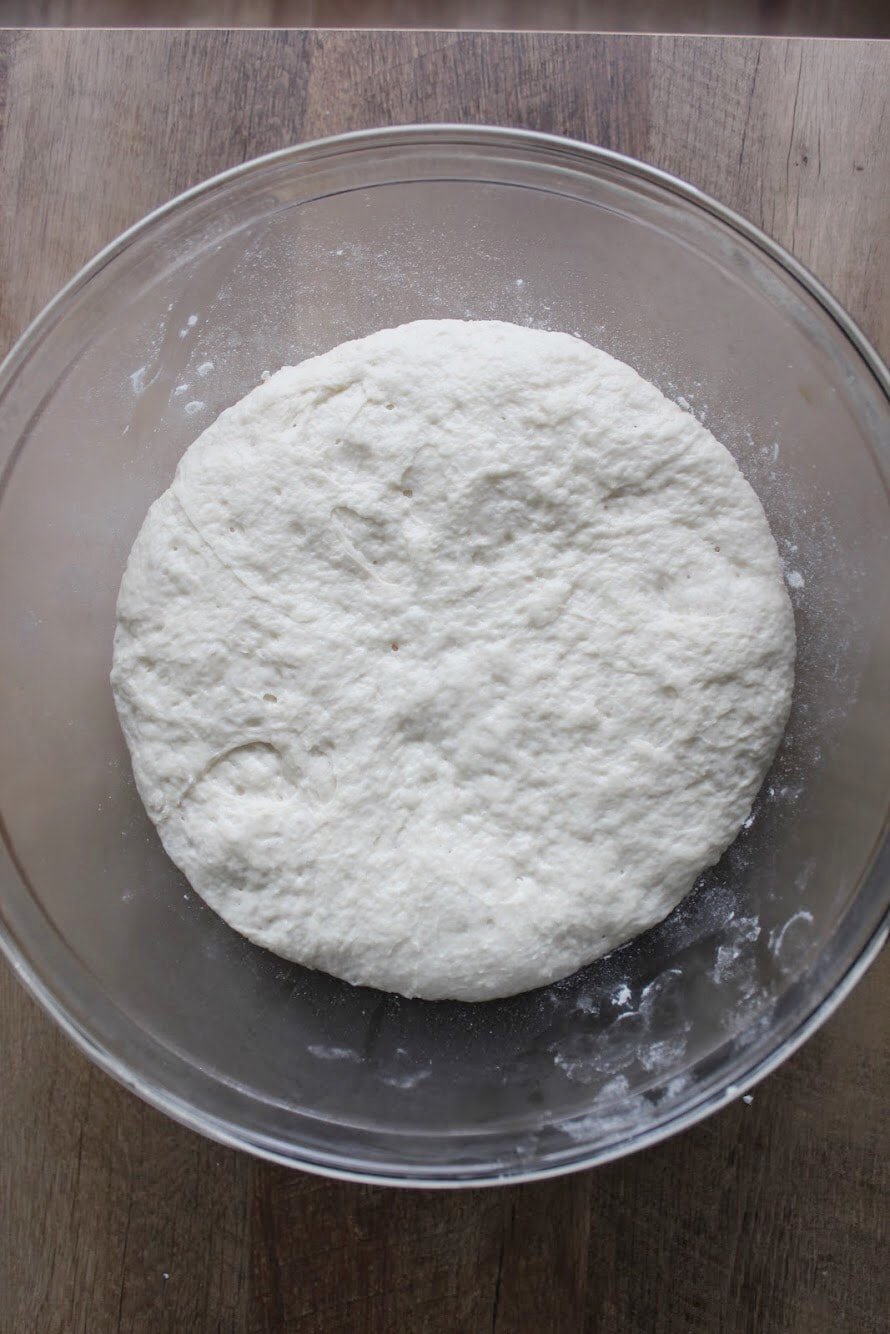
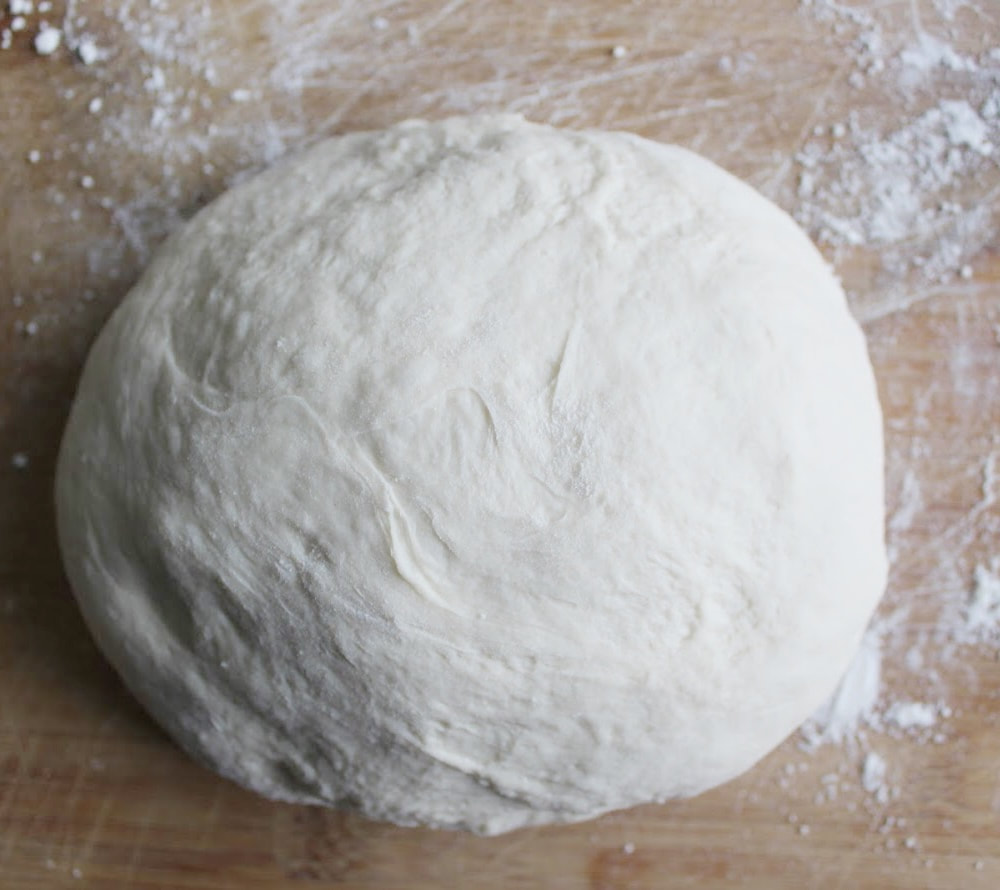
Once the dough has adequately risen, you are going to feel some strong tendencies to "punch" it down but REFRAIN. You can do it. You want to keep those air bubbles in tact. Just gather the dough together with your hands, and place the ball on a lightly floured surface. Shape the dough into a neat ball, place on some parchment paper and cover. Let dough rise for another hour.
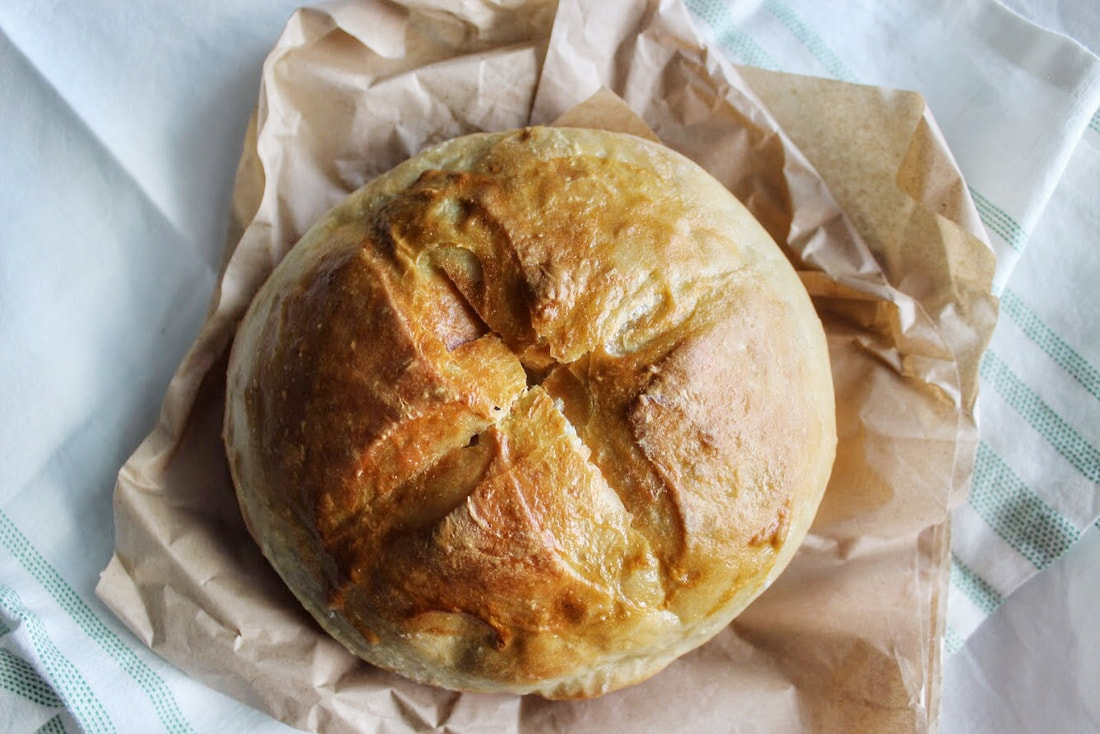
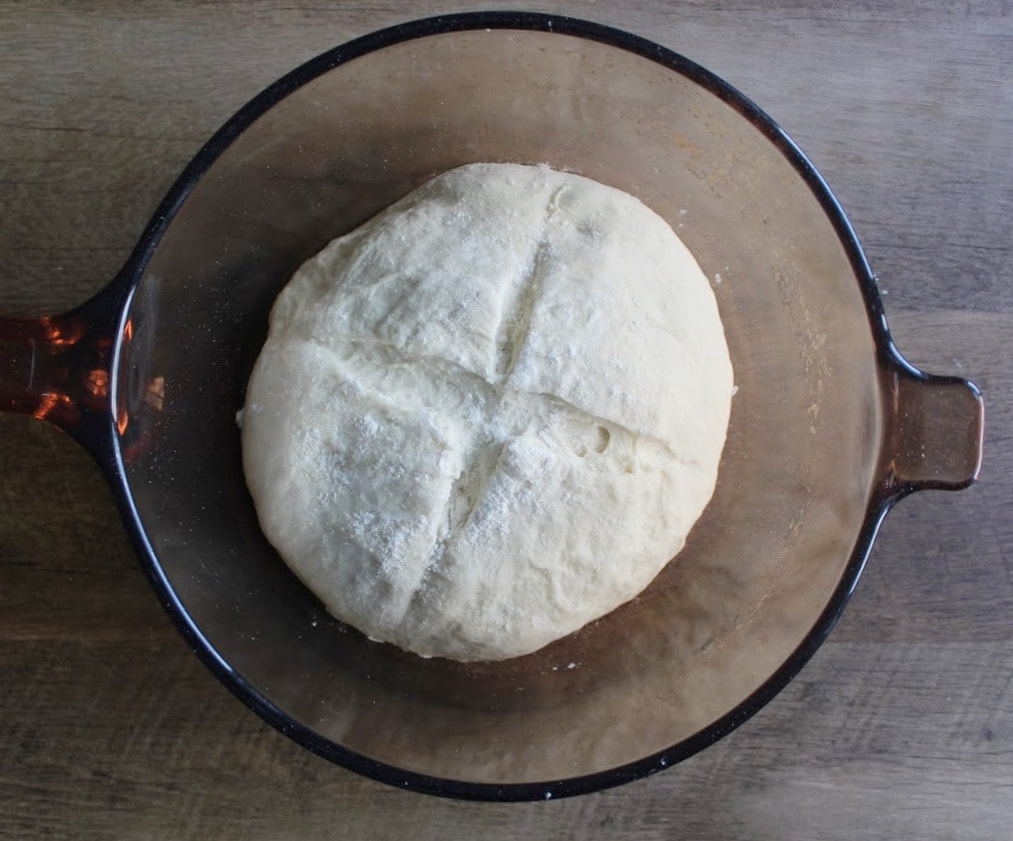
Preheat your oven to 450 degrees F and place your dutch oven into the oven while it is preheating. Once the oven has preheated, remove your dutch oven and place the dough inside with the parchment paper. For some nice aesthetic you can cut a X shape onto the top of the dough.
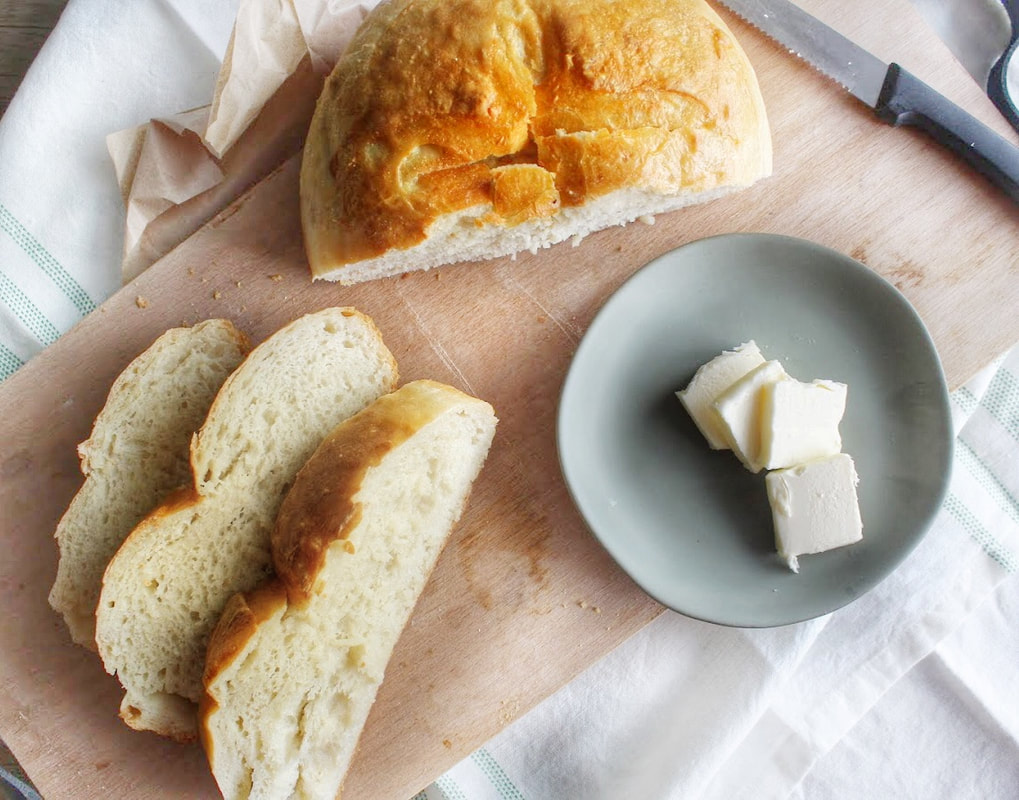
Put the cover onto the dutch oven and bake for 30 minutes. Remove the cover and bake for an additional 15 minutes.
 RSS Feed

